Getting Started with Rock Tumbling
My home is near several small creeks. To study rocks or to collect stones, this is the best place to get the best most varied selection. It is easy to find agates, jasper, lapis lazuli, and so many more. Thousands of years of previous river experience have tumbled these rocks, making them so shiny and smooth! They look like that at least when they are wet.
Once they dry off, however, they lose their brilliance, hardly resembling what they were when they were wet. It is so often disappointing to rock hunters, as they carefully pick their samples in terms of color, shape, or size. Color is particularly important at least it was for me.
It is easiest to make them look polished by applying a coat of shellac or polyurethane. If you wish to get a more permanent shine, tumbling will do the trick!
The sport of rock tumbling is thrilling. But nearly everyone gives up once their first batch of rocks doesn’t turn out quite like the brilliant pictures found online. There is a waiting period of 5-8 weeks for results, and many prospectors aren’t ready to wait that long! Often the instructions on your tumbler don’t make it that clear, and you must figure out what to do to get it right. In that vein, here are a few hints if you are interested in tumbling rocks!
Invest in a good rock tumbler!
Avoid buying tumblers from craft stores, or from museums (pawn shops). Their materials tend to be inferior, and they are usually noisy. Then you are out of luck for the next batch of rock tumbles. To reduce noise, we recommend getting one with a rubber barrel. Make sure it’s made by a trustworthy brand. Viyuki is a good choice among others. You can buy one HERE, along with enough grit to get you through your first batch of stones.
What’s the best place for the tumbler?
The tumbler should be placed somewhere that will not drive you crazy. The rubber barrels on tumblers can produce a surprising amount of white noise, if you follow our advice. However, we keep ours in the back bedroom, whether it’s soothing or not. Additionally, think about how convenient it is for you to get there to care for it. It should never be forgotten. That could lead to a catastrophe!
What rocks should I choose for my tumble?
Every batch of rocks you choose should be the same hardness. Check out what the relative hardness of the stones you’re tumbling is if you aren’t familiar with this concept. You should know that some stones, like obsidian, are too soft to tumble. Tumbling them will leave nothing behind.
Be sure to mix different sized stones. You may mix smaller, medium, and larger stones. Smooth stones may be mixed with jagged stones. Tumblers should be filled approximately 34% to 40% with stones. The barrel will be only half full after grinding away most of the stones. Don’t freak out this is quite normal.
Taking the First Step in Rock Tumbling
The tumbling machine you choose to use should come with directions that look like the ones your about to read. However, some of the directions on those little index cards can be confusing. Nevertheless, here is a list to generally run by when first starting out. Fill the barrel with water to the top of the stones, and then add the grit to the barrel after you have selected your stones to polish. It takes some time for the stones to tumble in the tumbler with the appropriate grit. Each stage should take ten days. For the sake of this article and deadlines I have I have taken only about 4-7 days for each stage. Following each stage, remove any loose grit and replace it with a smaller grit. Continue this process until the result is achieved. Ensure each stage is cleaned out completely in the barrel and the stones. Before you reach the polish stage, you must tumble the metal three times with three different grits.
Don’t forget to clean out the grit as you go!
Just make sure to not run the grit down the sink. Grit can harden in your pipes and cost you a lot of money to fix. Let your hose do the job of rinsing the grit. Take your time. As the stones pass through the next phase, any leftover grit will etch them. It’s necessary to clean your barrel and stones completely to make sure they’re free of grit.
Pre-polish
Prior to polishing, check whether the stones are smooth. Place the stones into the barrel, fill it again with water until the bottom of the top layer of stones is covered with water, and place the stones into the barrel. Nevertheless, if smoothness is not satisfactory, you should replace the stones and repeat this most recent stage (pre-polish). Preparing the stones for effective polishing is a crucial step. Continue to tumble for 3-10 days, adding the proper pre-polish grit. If you are pleased, continue to step three. If any stones break, remove them. Continuing with them might scratch the others. You can tumble the stones again after they have been removed another time.
Polishing
Finally, the time has come to shine the stones. Clean the barrel and stones thoroughly and place the stones back into the barrel after they have been filled with water. Ensure the water contains an appropriate amount of polishing grit. As you reach this point, you may have noticed that the barrel still has quite a bit of room to spare. How do you proceed? Some of the space can be filled with materials such as small wooden pellets or plastic beads. As a result of the media, your stones won’t be scratched or damaged during. This media does not need to be cleaned between batches if it is used only for polishing. Replace the media between batches if previous stages require it.
Polish the stones for a minimum of 4-10 days. To check the shine of your stones, take a few out, rinse them, and check them out. The burnishing stage begins once you are satisfied with the shine. In case the stones appear dull, or the shine is not satisfactory, you will have to repeat the pre-polishing step. Polishing more won’t solve the problem. Spending more time will not make a difference! It is necessary to repeat the pre-polishing process. It might have contributed to the issue if your barrel was dirty.
Finalize that stone.
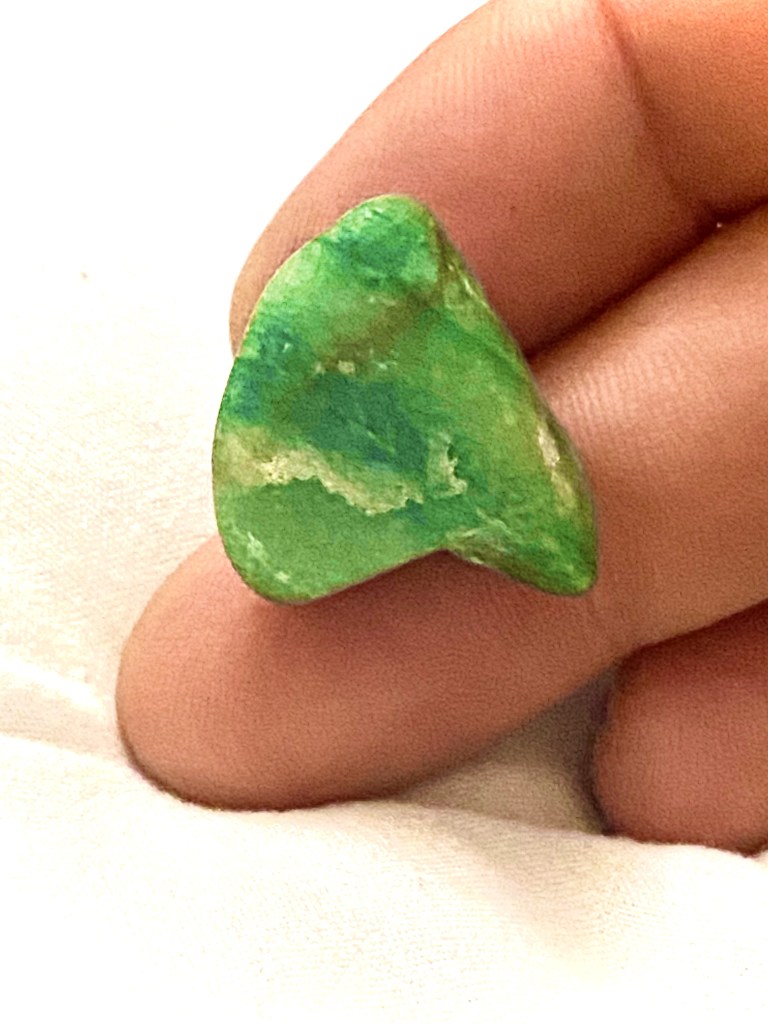
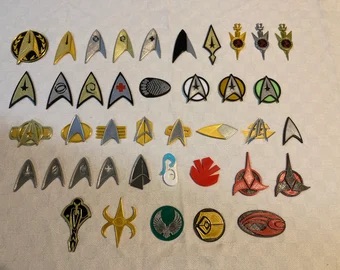
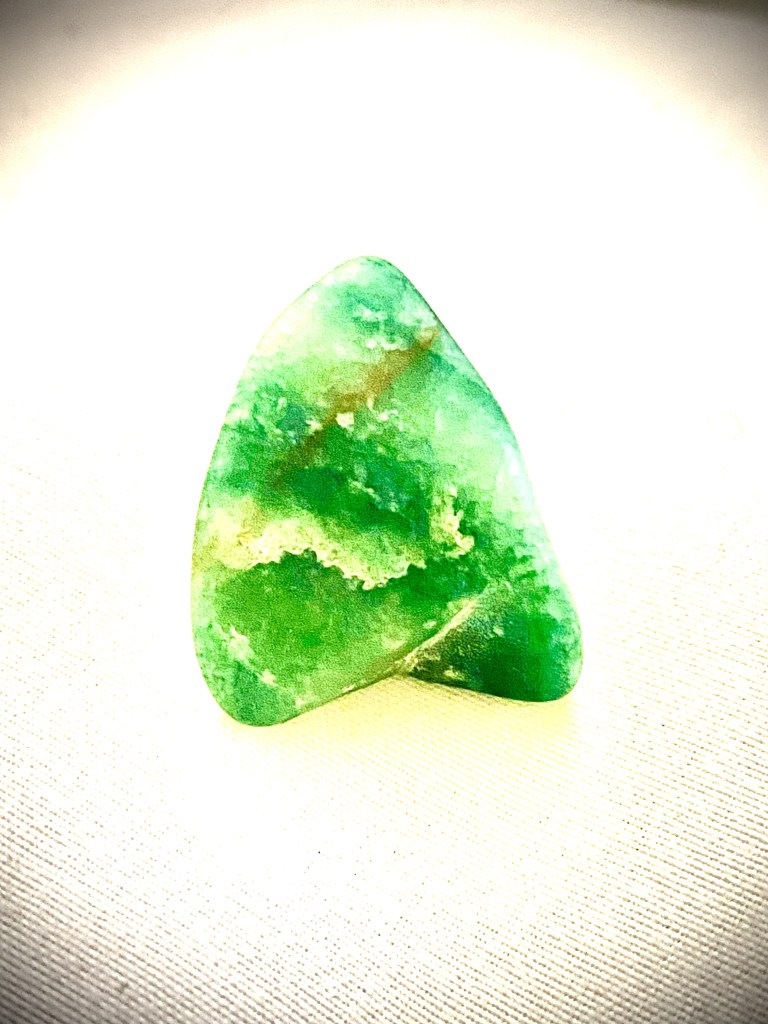
Now, if you’re like me, you know an over achiever, just doing one process is not going to be enough for your bold spirit. I utilized a sale day on Amazon and bought a Dremel (a rotary cutting tool it can be found HERE. I used this tool and some of the rocks that came with the machine I bought and cut it down into one of my favorite symbols. The Star Trek symbol just one of the many ways you can nerd out with new hobbies. You can see that and a few samples of the finished first batch below.
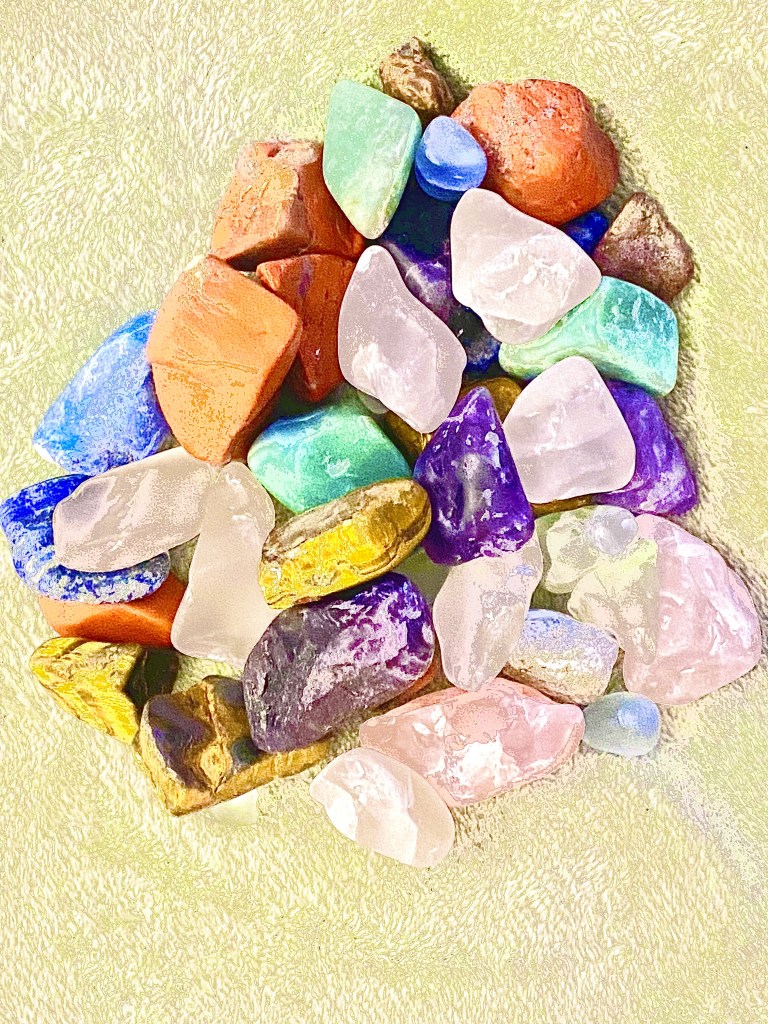
Congratulations! You have tumbled your first batch of gems. Is it not so very easy to rock tumble! Feel free to contact me if you have specific questions!
